How to synchronize your tasks with Outlook
Last modified:
Prerequisites:
You need to be on the ULTIMATE plan or the PRO plan with the "Outlook Calendar" feature selected.
Summary:
The Outlook Calendar synchronization allows you to "pull" events from your Outlook Calendar and show them in WEEK PLAN. This also allows you to "push" tasks from WEEK PLAN to your Outlook Calendar.
Synchronization happens almost instantly. If you edit a task that has been synchronized, the changes will appear on both Outlook Calendar and WEEK PLAN.
Steps to start synchronizing:
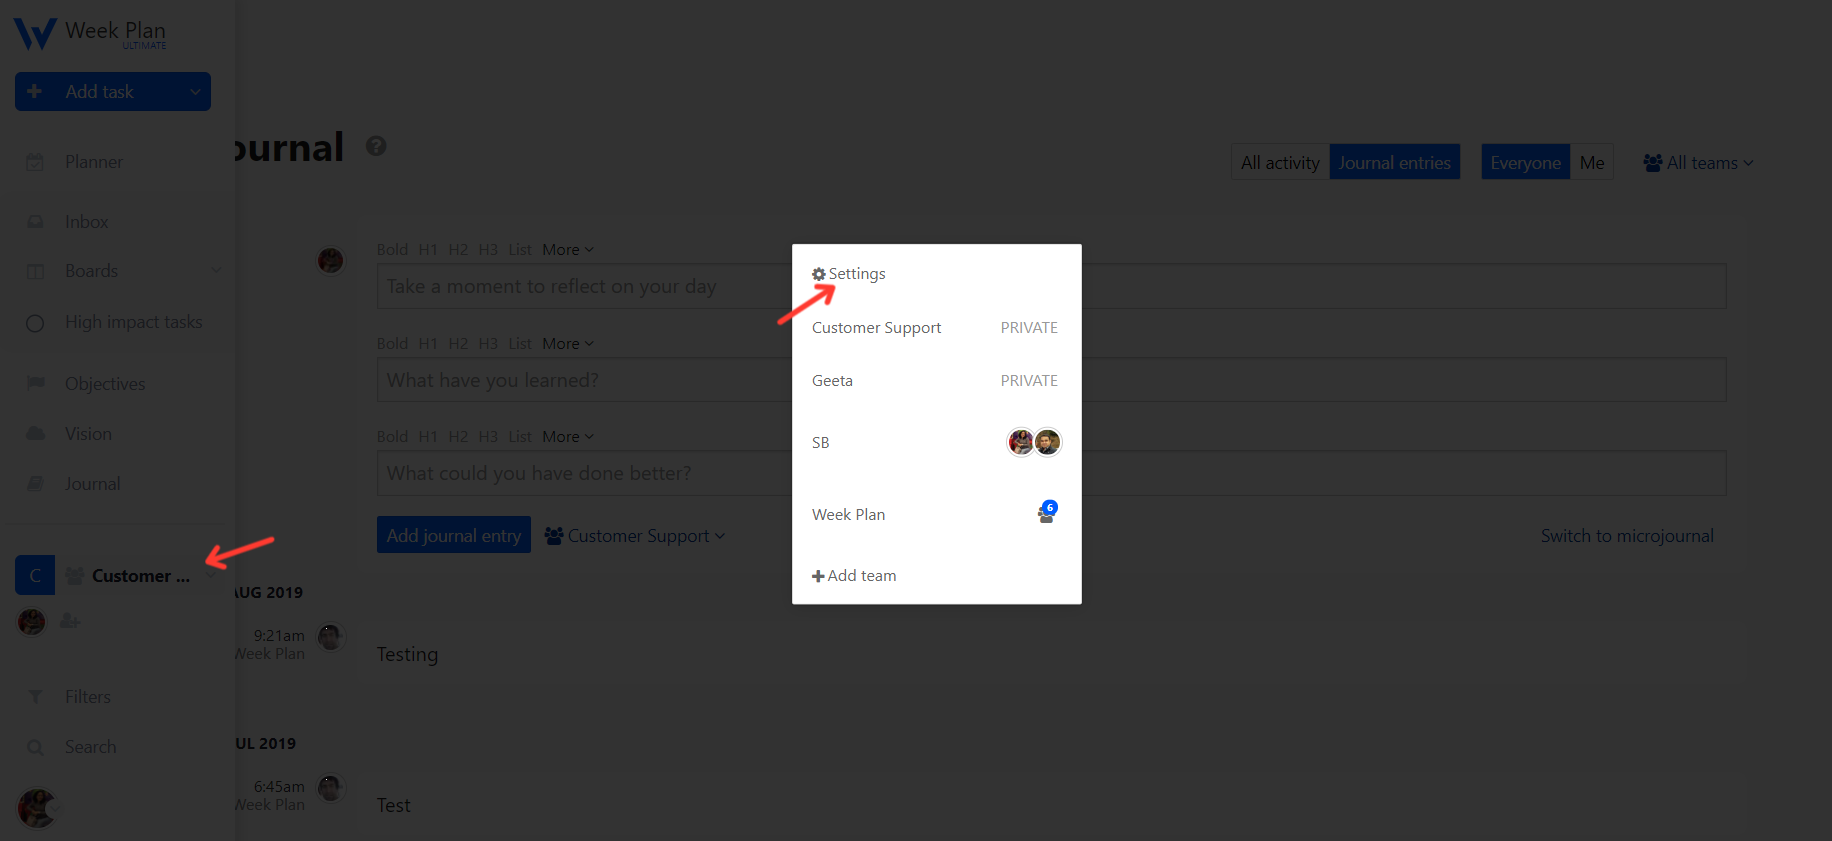
- Go to "Team Settings" from the Settings on clicking Team / Workspace name as shown below:
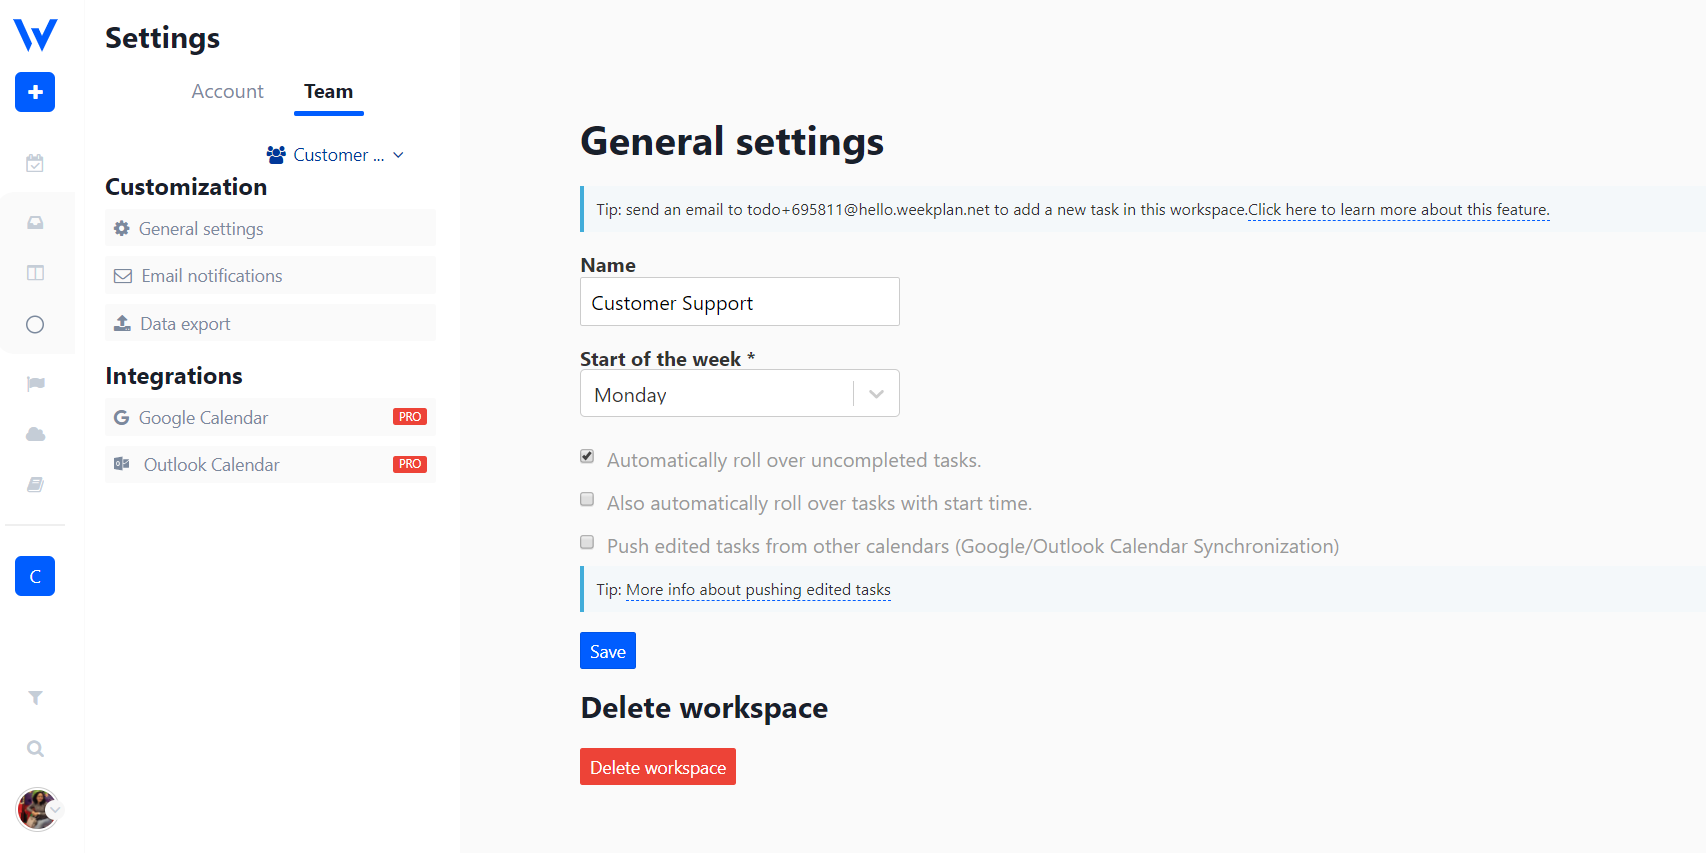
- Click on "Outlook Calendar" under the Integrations section. Click the Connect button and enter outlook Credentials and accept the authorization. It will attach the calendar and you can click push and /or pull button to attach the calendar to week plan.

Remember. "Pull" is to download events from Outlook Calendar. "Push" is to send tasks from WEEK PLAN to Outlook Calendar.
3. Click the "Save" and "Trigger sync" button to start synchronization.
The initial synchronization may take up to 5 minutes. You will have to refresh your browser page to see the new events/tasks.
Known issues & limitations
- Attendees in your Outlook calendar will be lost if you change the repetitions type (eg. Daily to Weekly) in WEEK PLAN.
- Deleting a single instance from a repetition in Outlook does not delete it from WEEK PLAN. This is due to the fact that Outlook doesn't notify us when such deletion is done.
- Entries from Outlook that are created 15 days prior to initiating the sync and on read/view-only mode will not be captured.